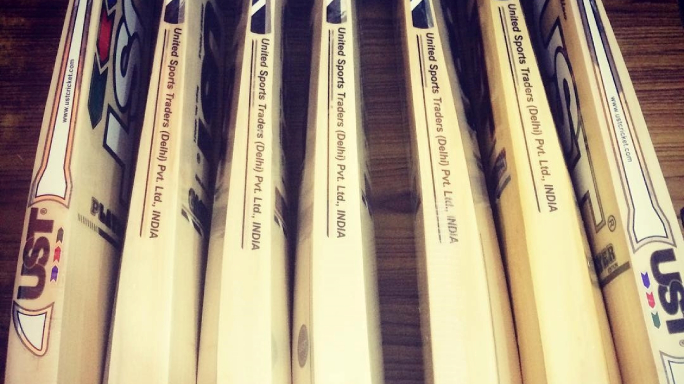
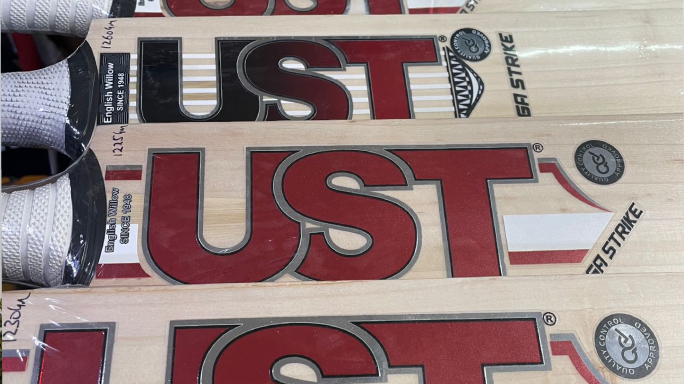
Cricket bat preparation
Preparation and maintenance is the key to a long bat life. Once you’ve purchased your cricket bat, the next step is to prepare it for action and then maintain it. Preparation comes in two phases: (1) Oiling and (2) Knocking it in. Part 1: Oiling Your Cricket Bat A number of cricket bat manufacturers indicate that over half of the bats sent back to them for repair, have not been sufficiently oiled or have in turn been over oiled. A balance needs to be struck, with a light coating as the main instruction provided by bat manufacturers. If the cricket bat you have just purchased has an anti-scruff cover, the face will not need oiling. However the back of the cricket bat will need oiling. Part 2: Knocking Your Bat In After purchase, all cricket bats should be knocked in to prepare them for use in competitive matches. The edges, toe and blade of the bat all need to be sufficiently knocked in, as these areas face large amounts of impact from the cricket ball, therefore making them vulnerable to breakages and damage. Knocking your cricket bat in is an effective way of ensuring that the bat has been compacted enough to prevent impact damage. As the knocking in process is a very important aspect of preparing your cricket bat for action, it cannot be rushed and must be done carefully. Knocking your cricket bat in is effectively ensuring that the wood of the bat is compact as the fibres are compressed and knitted together. Consider the following steps when knocking in: After a few net sessions, your cricket bat should be ready to use in a competitive match. Added Protection After knocking your bat in, you may wish to add a protective cover to the cricket bat. This should be positioned and fitted approximately 3-5mm from the toe of the bat, with the cover running up the face of the cricket bat and finishing just below the bat manufacturers labels.


